Tips for Makers: Taming Metal Part 1, “Glues and Screws”
Friends, makers, cosplayers, lend me your ears! (Or eyes as the case would be) I attended several different sessions during my awesome convention experience in Lincoln, including three that were all about making the cool props, costumes, widgets and gadgets that can add that extra zing to your Steampunkery. This is the first installment of a multi-part tipfest for those of you who like to get your hands dirty just in time for Halloween.
I have taken many art classes in my time, and I was a fine arts major in college before I injured my drawing hand too badly to continue. I still minored in Art History though, and to qualify I took one of my favorite classes of all time, Intro to Sculpture. We worked with a variety of materials over the summer, but my absolute favorite was metal. I love it for two reasons: under the right conditions it is totally malleable, and when you are done it is incredibly strong. And shiny of course, let’s not forget shiny 🙂
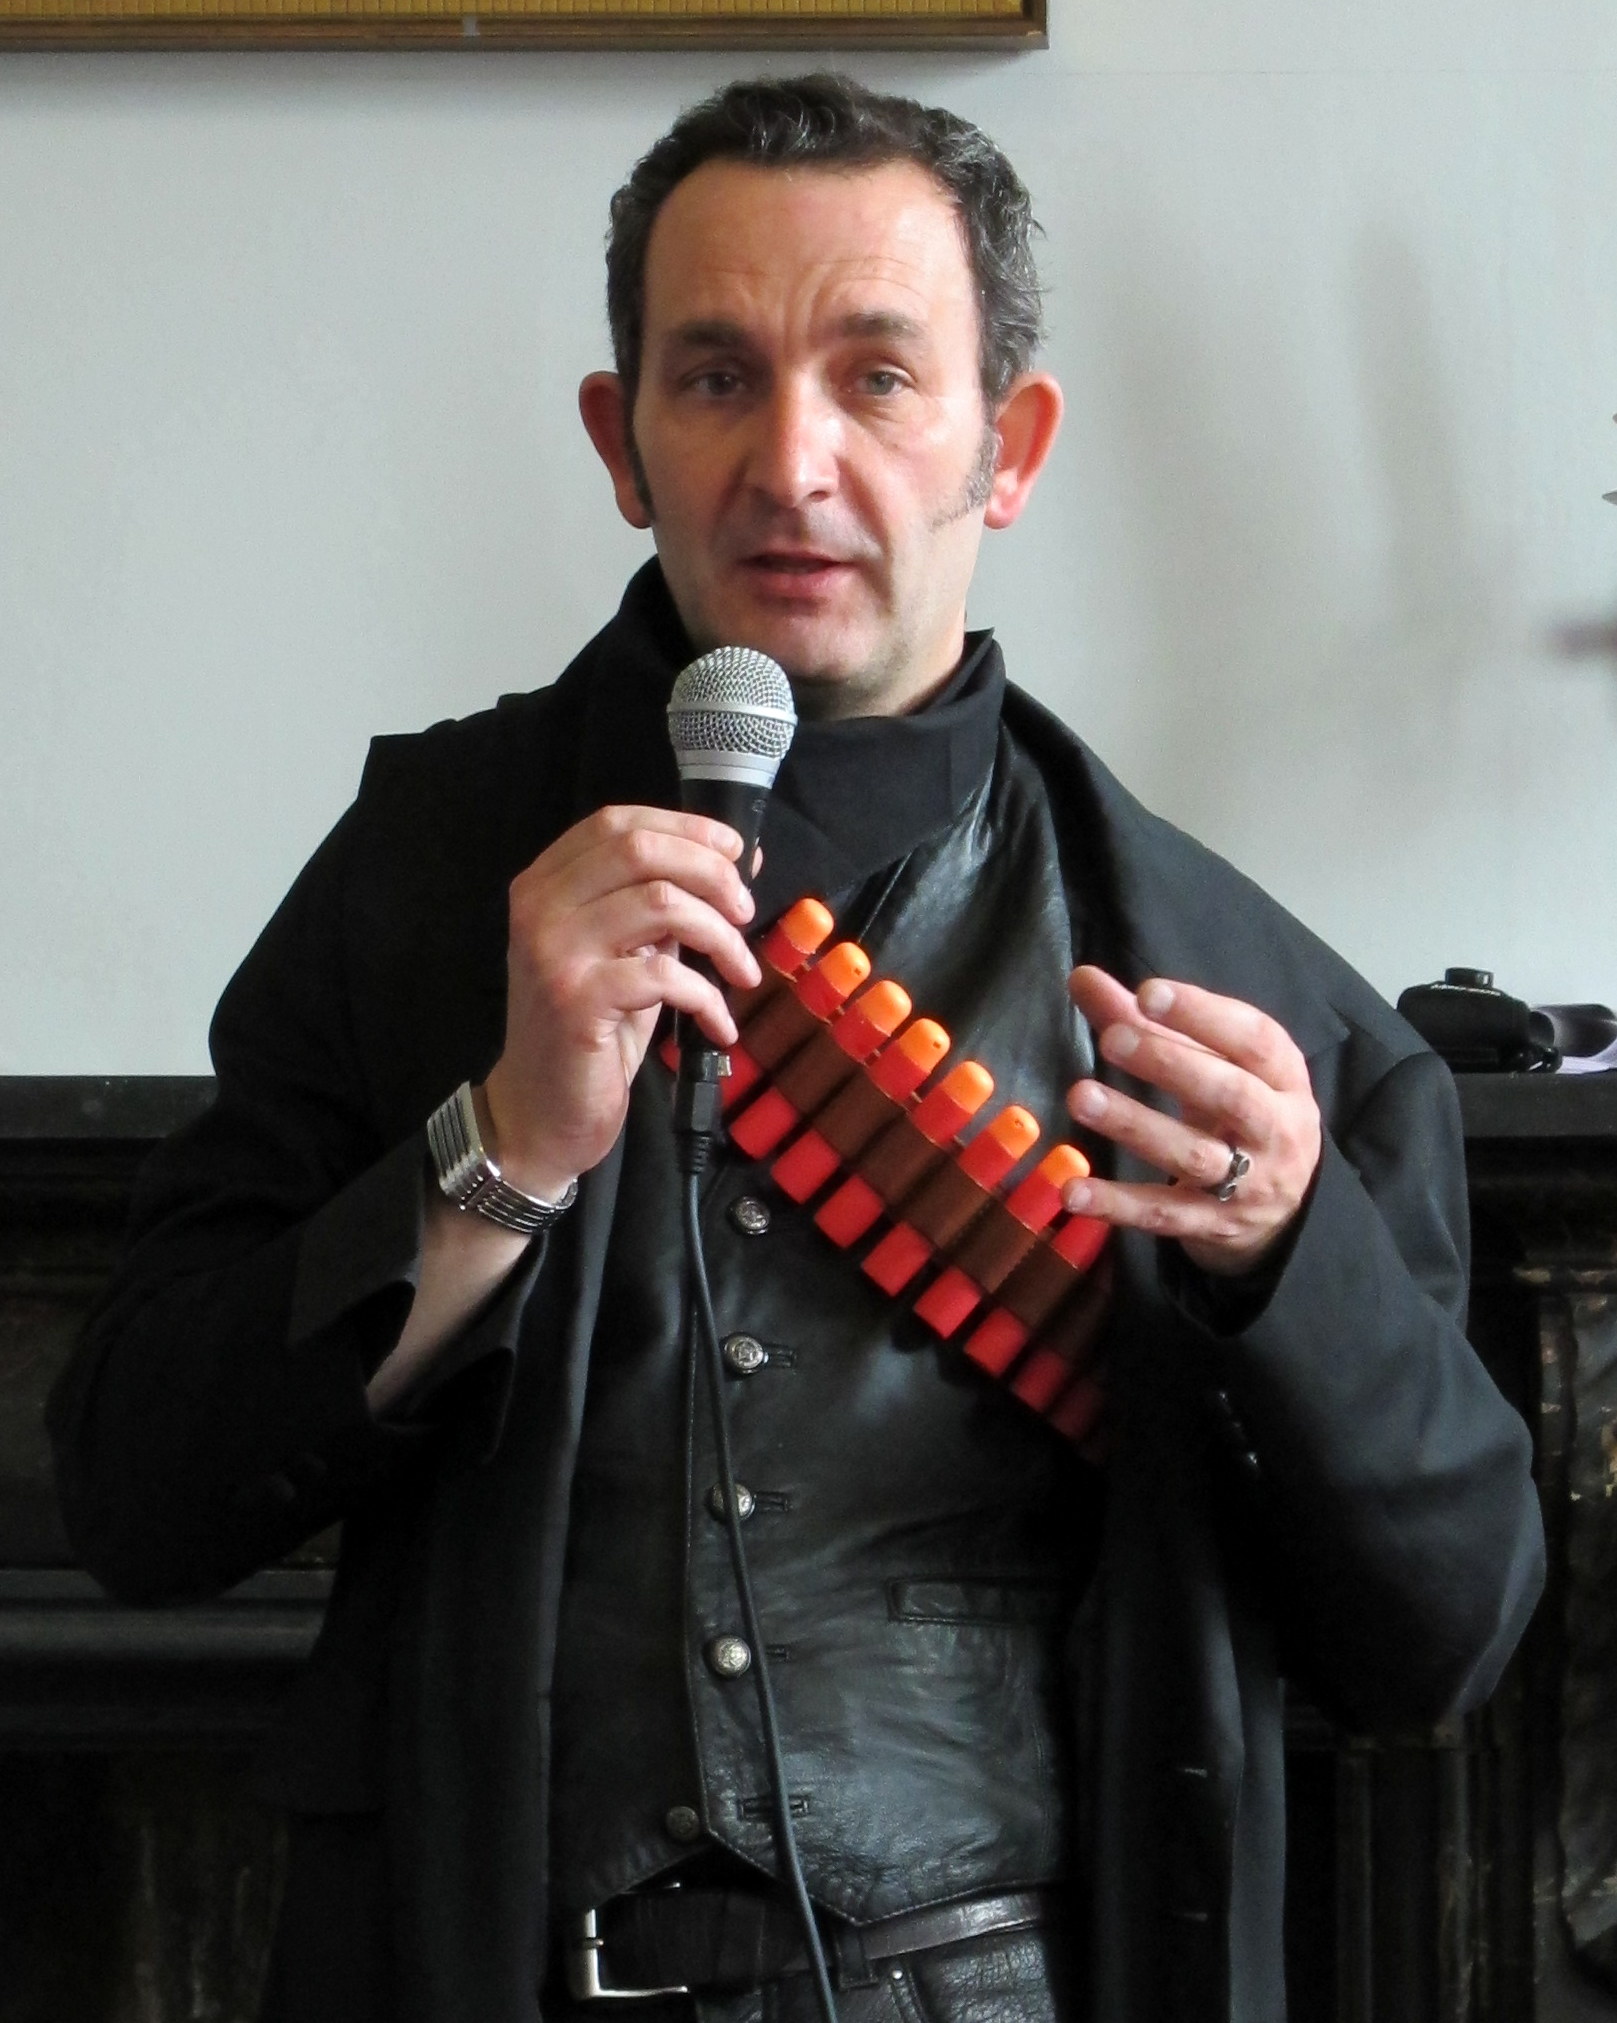 At Weekend at the Asylum there was a session called “Taming Metal” that was run by a panel consisting of “Herr Doktor“, Trevor Frank and “Dr Quack.” They started with the easiest way to join two metal pieces together and moved to the more involved techniques as the session went on, and they also touched on some important tools and safety tips, and etching advice. The following bullets are based on my notes that I took during the session.
- Metal can be joined in many ways ranging from “glues and screws” to welding. The stronger the joint you are looking for, the more sophisticated the equipment and the more safety precautions you need to take. There are serious safety concerns when working with torches, both for burns to your skin and to your retina which can result in temporary blindness and serious long-term effects on vision, so NEVER cut corners when it comes to safety. “Metal doesn’t care how old you are, or how experienced you are.”
-

Epoxy often looks like two syringes that are connected.
But let’s start with the easier stuff. Epoxy is more effective than other types of glue for adhering metal to other metal, or metal to other materials. And what is epoxy, you ask? It is usually a combination of two resins that are only mixed at the time you are using them and any extra must be disguarded, unlike glue that can sit on your shelf forever and more or less stays the same (though of course, glues to dry out over time).

- Any time you are going to use an adhesive rather an a screw, solder or welded connection make sure that you rough up your surface. The little scratches left behind by sand paper or steel wool will give your glue more to grip and create a better seal. And to give your glue its best shot, try to find a way to clamp or weigh down the connection point for at least a day or two while the adhesive sets. To preserve the look and texture of the metal while clamping, it is a good idea to put a cloth between your material and the shoes (or holdy-onny part of your clamp) or use a clamp with rubber covering the shoes.
-

A few shapes that nuts can take.
Nuts and bolts are a great way to hold metal together, but you will probably need to drill holes before you start. Dremels and other small, handheld drills can get through most thing sheets of metal, but watch out for shavings that can be sharp. But, it can be hard to find nuts and bolts that are the right color or type of metal (most are shiny, stainless steel like those at the right) to go with steampunk designs, so you may want to pre-rough them up if you are planning to add paint or use rivets instead.

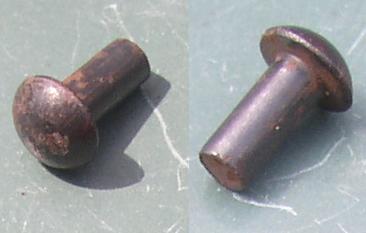
- Rivets are cool and very steampunk. Unlike screws and nuts n bolts, rivets are more or less meant to be permanent fasteners. The look a bit like a screw, but the shaft is smooth. The shaft is put through a pre-drilled (or pre-existing) hole and the tail end get smooshed to create a little barbell that holds your materials in place. If you like the look of rivets but don’t want to take the time or find the right tools for the job, I will give you some advice about how to fake rivets for cheap in my “Creating with Quicksilver” post next week.

Check out Part 2: “Treat and Heat”


")


It’s cool to read something so practical on the details of making. I’ve never tried much metalwork, but I have friends who’ve gone so far as to try out cast metal from scratch, and the solidity of what you produce is immensely satisfying.
LikeLike
October 9, 2014 at 9:05 am
My first sojourn into metalwork was actually in high school. We had a jewelry making course and I still am wearing a pair of silver rings I made 13 years ago. I am glad you are enjoying the tips, there are many more to come! 🙂
LikeLike
October 10, 2014 at 12:31 am
Great post! Perfect level of detail for newcomers. I haven’t done a lot of metalwork yet, although I have done some soldering. Looking forward to the welding part, as that always seems to be akin to black magic to me.
LikeLike
October 9, 2014 at 12:08 pm
I started soldering in a jewelry making course, and later I got into doing stained glass. It can be finicky, but when it works it is a great technique. I haven’t done much welding myself, but I will try to “demystify” it for you 🙂
LikeLike
October 10, 2014 at 12:34 am
Pingback: Tips for Makers: Taming Metal Part 2, “Treat and Heat” | For Whom the Gear Turns
Reblogged this on Airship Flamel and commented:
An informative and well-written introduction to working with metal for beginning makers.
LikeLike
October 10, 2014 at 9:08 am
Reblogged this on The Obsession Engine and commented:
Work schedule stupidity continues. Until regular broadcasts can resume, here’s something to chew on.
LikeLike
October 10, 2014 at 10:09 am
Pingback: Tips for Makers: Taming Metal Part 4, “Sketch and Etch” | For Whom the Gear Turns
Pingback: Tips for Makers: You Can Fake it When You Make it Part 1, “Gathering Resources” | For Whom the Gear Turns