Tips for Makers: Taming Metal Part 2, “Treat and Heat”
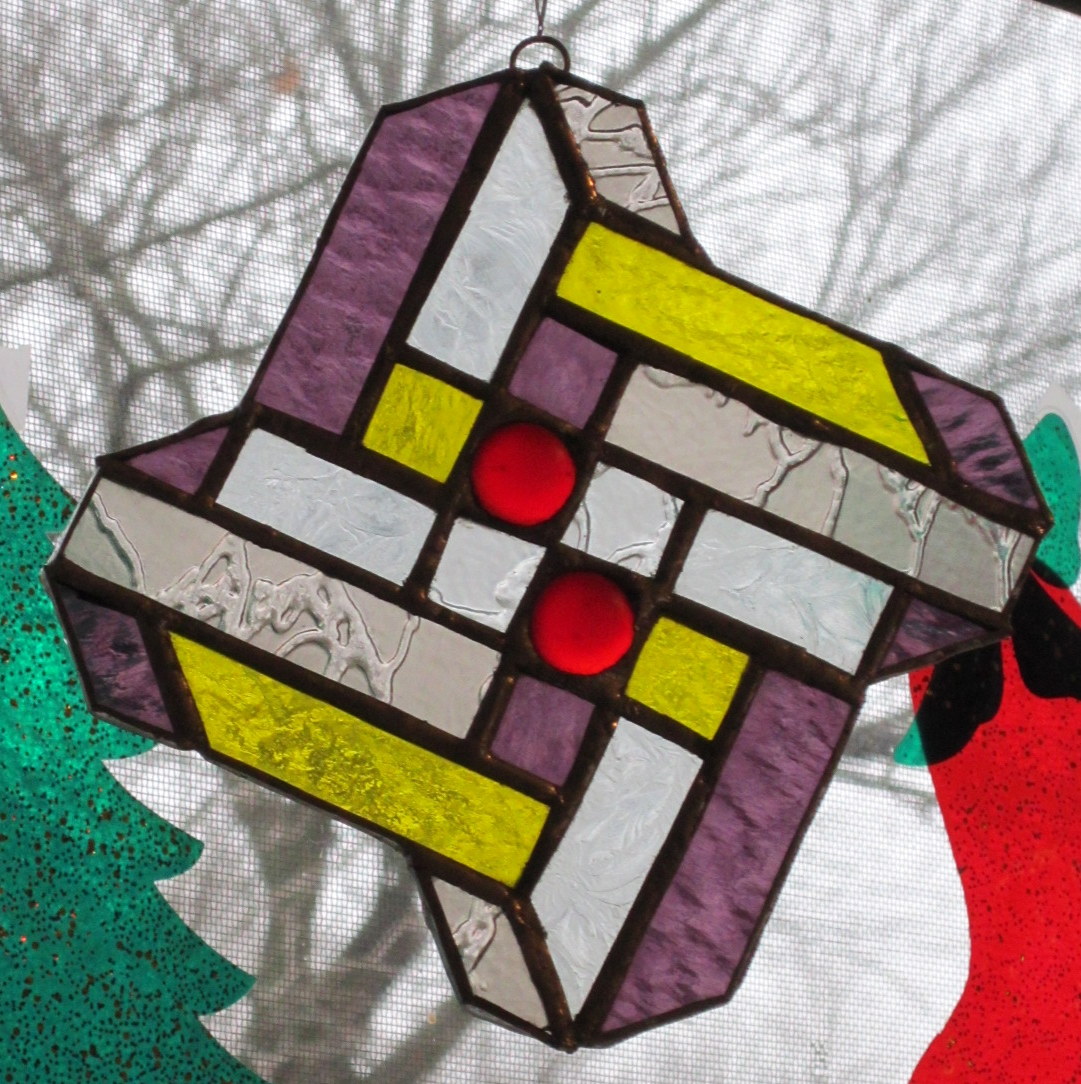
My favorite of the sun-catchers that I have made
Last time I covered some of the kinder, gentler ways to work with metal. In this post, I want to tell you about soldering. This is the metallurgical technique with which I have the most personal experience. I have used it to create silver jewelry and to attach transistors to electrical components like circuit boards, as well as making stained glass sun-catchers and sculptures.
Soldering
- Solder, a metal alloy used to join other metals together, comes in different varieties that have different melting temperatures, and your solder must always have a melting temperature lower than that of what you are joining.
- There is soft solder (melting between 190 to 840 °F) and hard solder (840 °F and above), which is sometimes called ‘silver solder‘. When working with high-temperature solder it is often referred to as ‘brazing.’ When a joint is particularly delicate (ie, joining two very small things or a small thing to a large thing) or the finished item is going to see a lot of wear and tear, it is better to use a harder solder and more acidic flux.
- In some cases, once your solder hardens it may actually be stronger than the materials you are joining. (This is also true of wood glue, by the way. It is usually easier to break the wood that you join than the place where it is joined.)
- Solder is often in the form of wire on a spool that is unwound and cut to the size needed for a particular joint. I have also used soldering solutions where tiny bits of solder are suspending in a liquid (see ‘flux’ below).
- There are two different kinds of tools you can use to melt your solder. A soldering iron is more or less shaped like a fat pen and is held as if you are writing. Be careful with this kind because once gets hot it stays hot as long as it is on. A soldering gun is shaped like a pistol and has a trigger that the artist presses to heat the tip each time. In both of these cases, the tip of the tool comes in direct contact with the solder and melts it so it can flow into the crack between whatever is being joined. When I making circuit boards, I used a hot air soldering iron that was held like a soldering iron but it had an open tip where air was heated and forced through, so the tip never came in contact with the solder itself. This was used with a very low temperature tin solder that has a high rate of conductivity which made it is ideal for electronics. Some hard solders may require a torch instead of an iron or gun.
- Before you can solder, you have to treat the joint with flux. This is a slightly acidic solution that takes away residue left from handling with bare hands, and it facilitates the solder’s flow into the joint. It is only mildly acidic, but if it gets into your eyes it can cause discomfort (trust me, I know from firsthand experience.)
- Safety: It is a good idea to wear gloves when soldering, especially if you are using a soldering iron which stays hot between joints. Stained glass soldering works at a low enough temperature that I have never gotten a blister from contact with the iron, but I have gotten sore, red fingers that last for a couple days. Keep in mind that the longer you have to apply the heat to the solder, the more the surrounding metal will also heat, so you can get burned if you are holding the materials you are joining with bare hands. Also, when flux heats it can sometimes spit like bacon grease in a frying pan, so if you may also want to wear goggles to keep the hot liquid from getting into your eyes.


")


Another informative post. Reblogging Parts 1 & 2.
LikeLike
October 10, 2014 at 9:06 am
Great!
LikeLike
October 10, 2014 at 9:43 am
Reblogged this on Airship Flamel and commented:
Follow-up to the previous post with more information on soldering.
LikeLike
October 10, 2014 at 9:09 am
Reblogged this on The Obsession Engine and commented:
Part 2 of the “Tips for Makers” series of articles.
LikeLike
October 10, 2014 at 10:10 am
Pingback: Tips for Makers: Taming Metal Part 1, “Glues and Screws” | For Whom the Gear Turns
Pingback: Tips for Makers: Taming Metal Part 4, “Sketch and Etch” | For Whom the Gear Turns
Pingback: Tips for Makers: You Can Fake it When You Make it Part 1, “Gathering Resources” | For Whom the Gear Turns